PLEASE NOTE: THESE DOWNLOAD INSTRUCTIONS ARE FOR INSTRUCTORS ONLY
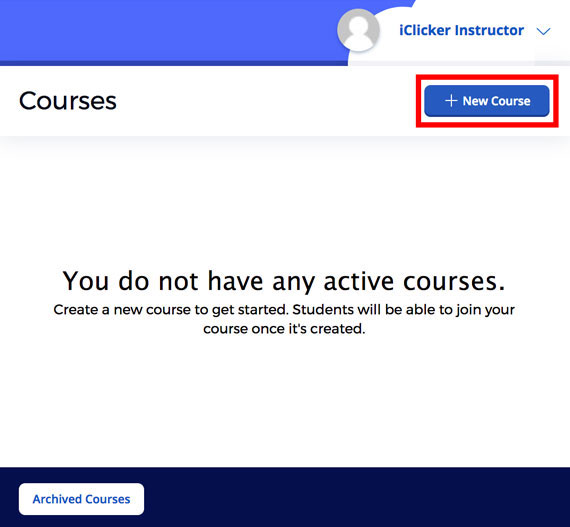
3. Create a Course
From the logged in Course Dashboard, create your first course by clicking the “Add New Course” button.
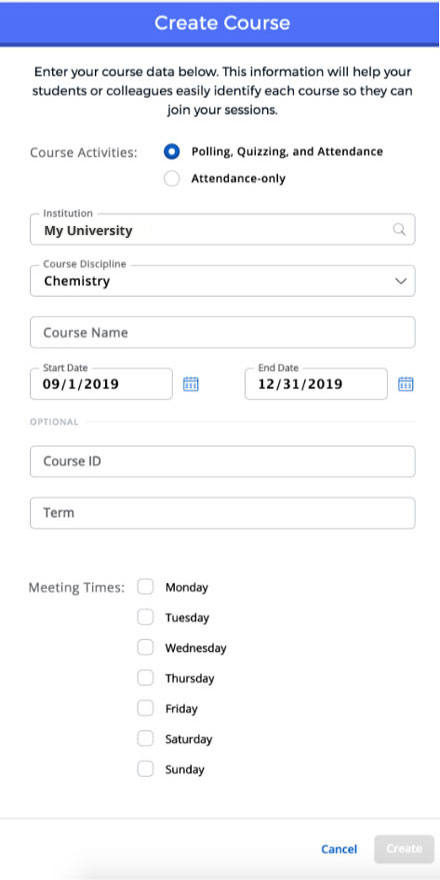
To create a course, you must provide your course name, institution name, discipline, and course start and end dates.
All other fields are optional, but completing them will make it easier for you and your students to identify your course.
Questions or issues? Search our Knowledge Base for additional helpful articles—like this one: How to Use iClicker Remotes with iClicker Cloud.
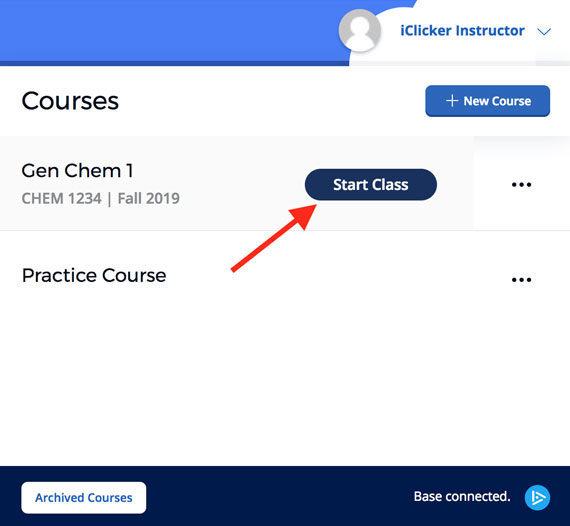

6. Respond Using Another Device
To experience student polling firsthand, open a new browser window or find another web-enabled device such as a smartphone or tablet. Using a second device will provide a more realistic simulation of the student experience. From your browser or second device, visit the student website and log in using the credentials for the instructor account you created in step 2. Add the course you created in step 3 by selecting the “+” button and searching for your course institution and course name. Join the session and respond to the question.