PLEASE NOTE: THESE DOWNLOAD INSTRUCTIONS ARE FOR INSTRUCTORS ONLY
1. Install the Application
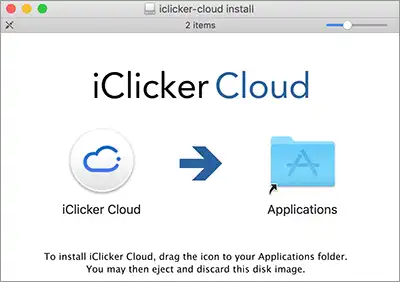
Double-click the downloaded .dmg file to open the compressed file. From the install window, drag the iClicker Cloud icon to your Applications folder.
2. Create an Account
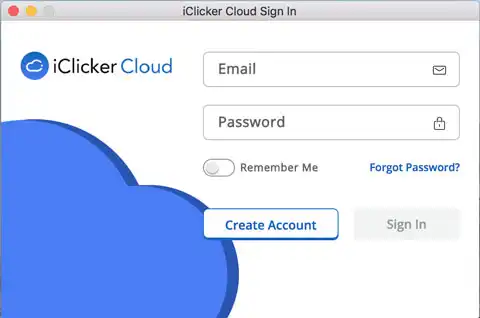
Launch the iClicker Cloud application. From the login window, select “Create Account”.
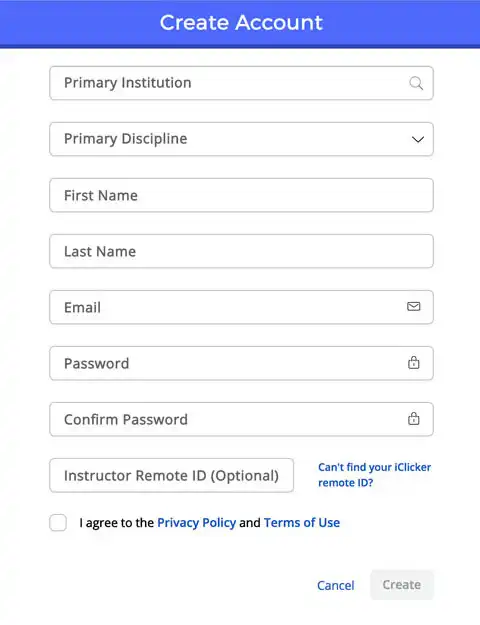
 Complete the form and click “Create” to create your account and be automatically logged in.
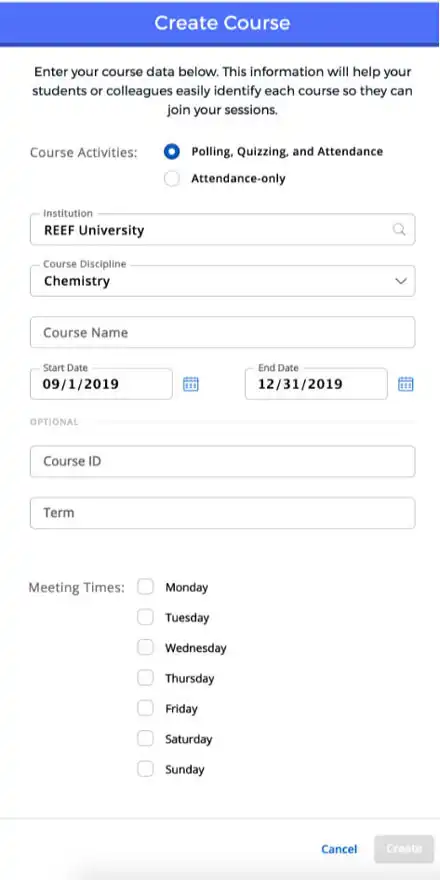
3. Create a Course
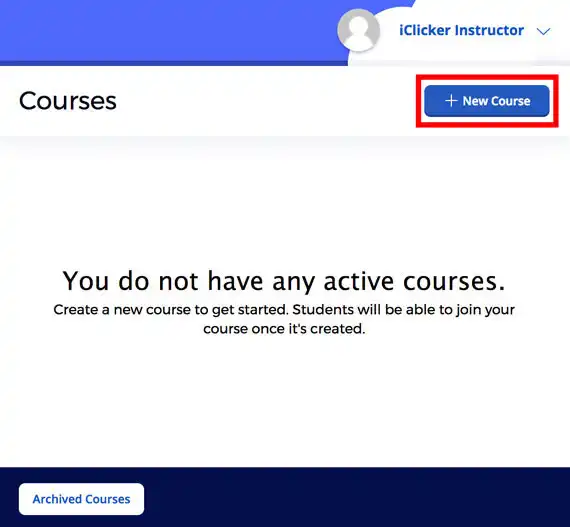
From the logged in Course Dashboard, create your first course by clicking the “Add New Course” button.
To create a course, you must provide your course name, institution name, discipline, and course start and end dates.
All other fields are optional, but completing them will make it easier for you and your students to identify your course.
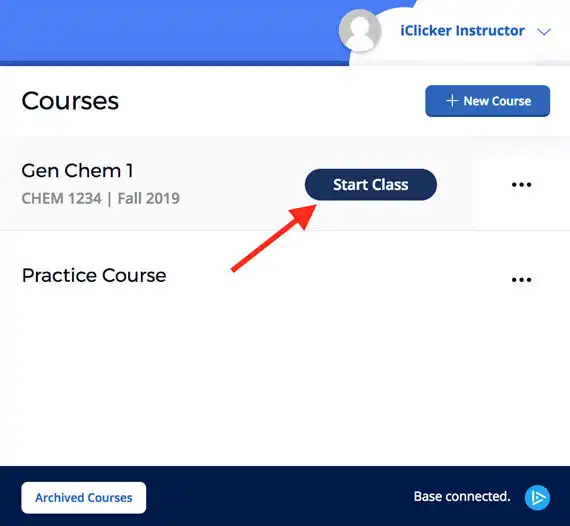
4. Start a Session
You are now ready to start your first session and begin polling your students. To begin a class session, hover over your course name and click the “Start Class” button.
5. Start a Poll
Select the Polling icon on the Class toolbar.

Polling options will be displayed in the same toolbar. Start polling by clicking the start button on the Polling toolbar.

6. Respond Using Another Device
To experience student polling firsthand, open a new browser window or find another web-enabled device such as a smartphone or tablet. Using a second device will provide a more realistic simulation of the student experience. From your browser or second device, visit the student website and log in using the credentials for the instructor account you created in step 2. Add the course you created in step 3 by selecting the “+” button and searching for your course institution and course name. Join the session and respond to the question.