Find the guidance and support you need for a smooth iClicker setup. Ready to get started? Select your role to access tailored content designed just for you.
Instructors, Get Started with iClicker
Choose Your Set-Up Guide
To view the correct step-by-step guide, choose whether you are using only iClicker as a standalone product or both iClicker and Achieve.
Step 1
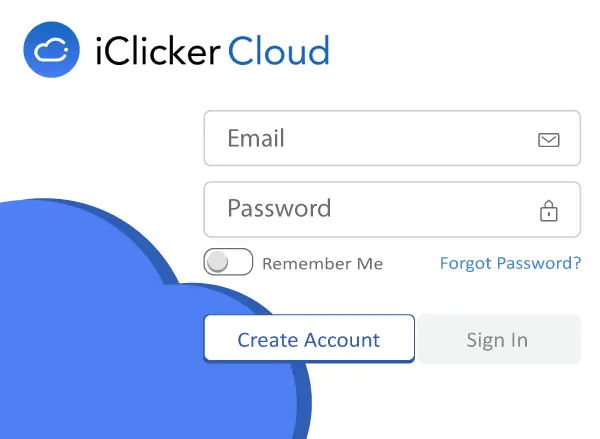
Create Your iClicker Instructor Account
Create your account or sign in. Instructor accounts are always free.
Step 2
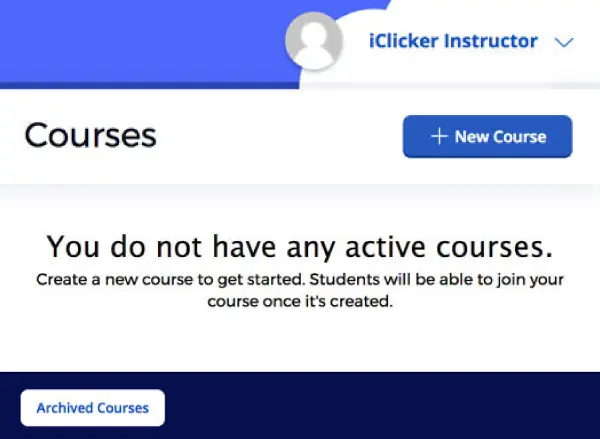
Set Up Your Course
Sign in, select “Create New Course,” and enter your course details. Save your course setup.
Step 3
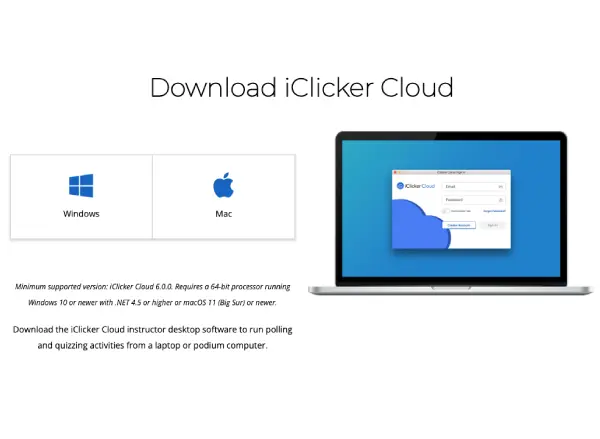
Download the Software
Download the iClicker Cloud software from the iClicker website. Install the software on your computer and log in with your instructor credentials.
Step 4
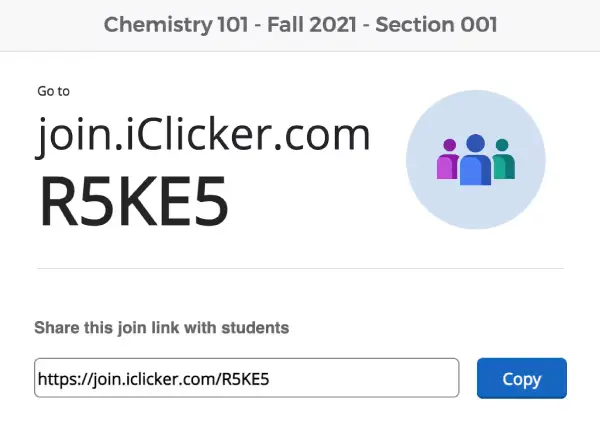
Share Your iClicker Course Information With Students
Share your course’s unique join code or QR code to quickly add students to your course.
Step 5
Try It Out!
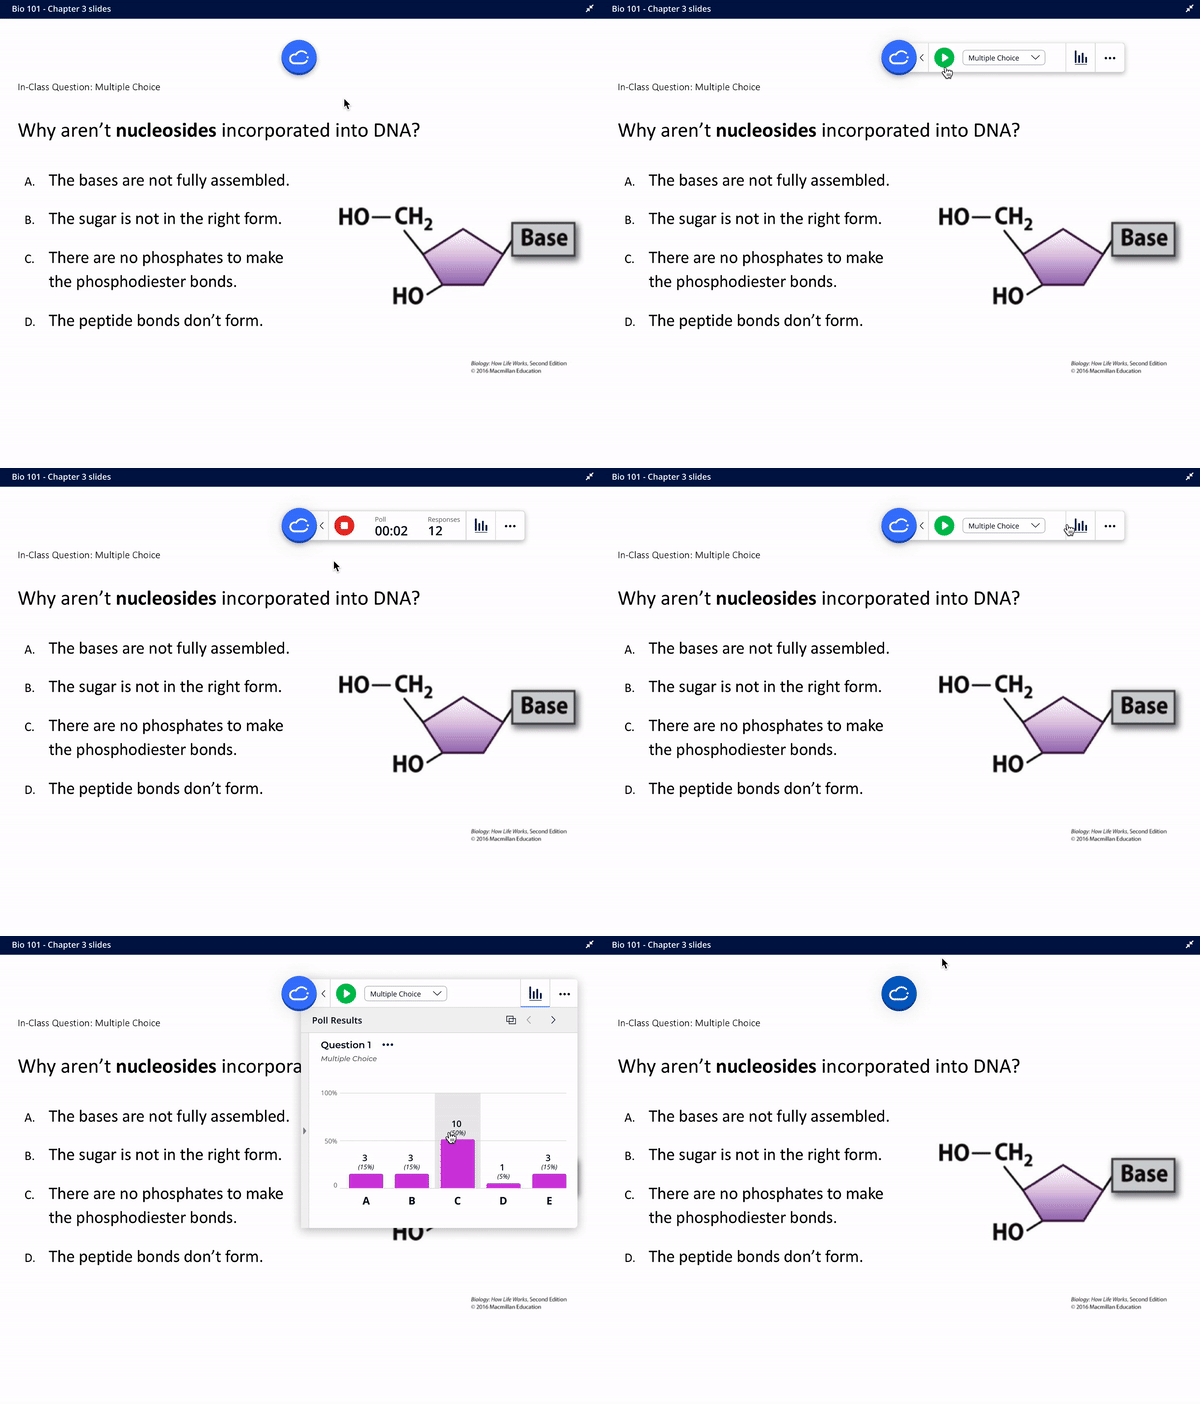
Practice running a poll and begin familiarizing yourself with the different question types and features. Ensure you customize your course settings before deploying them in a live class.
Click here for more detailed instructions on setting up an iClicker course.
Step 1
Start in your Achieve Gradebook
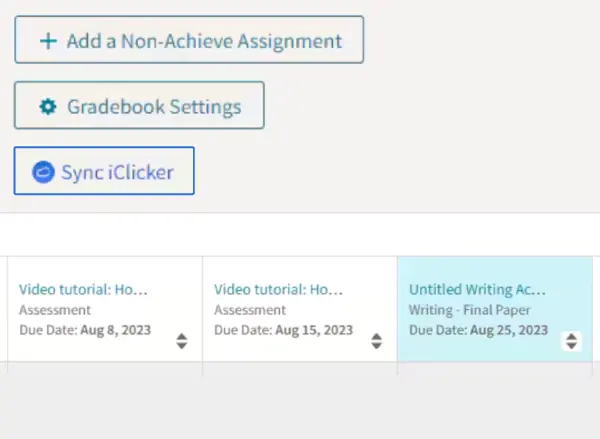
Once in your Achieve course gradebook, click “Sync iClicker.”
Sign in to your iClicker Cloud account or create one if new.
Step 2
Connect Your iClicker Course
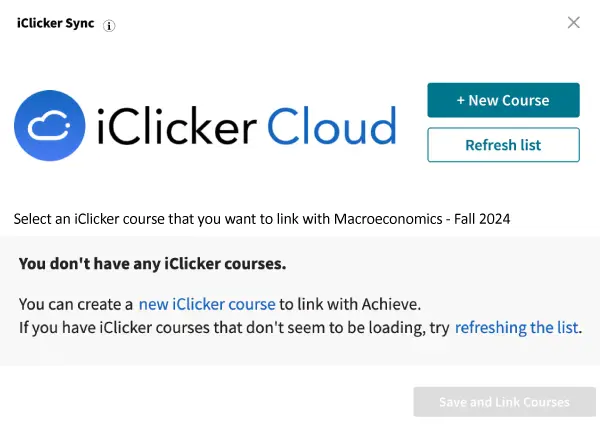
Click “+ New Course” to create one from scratch, OR choose an existing iClicker course if you’ve already created one.
Select “To Run Polls, Quizzes & Attendance,” enter course details, and click “Create.” Your courses are now linked.
Step 3
Create an iClicker Gradebook Category
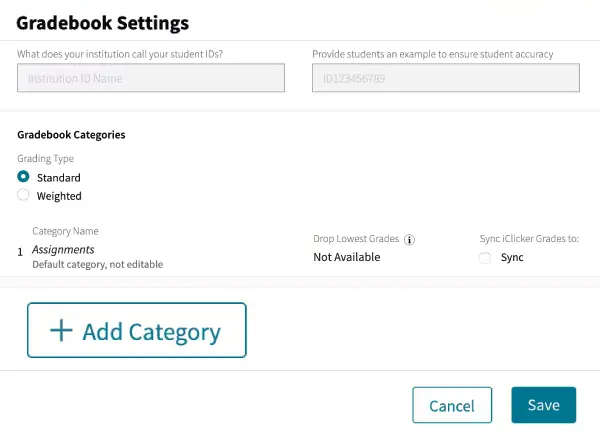
In Achieve, go to “Gradebook Settings,” click “+Add Category” under Gradebook Categories, fill in the details, and save.
Step 4
Inform Your Students
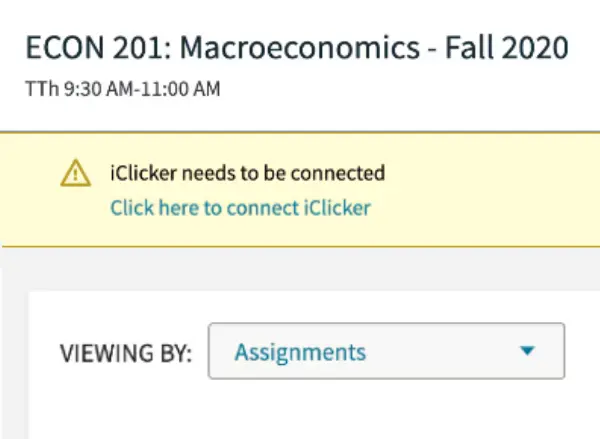
Students will see a yellow banner in Achieve. They need to click it and login or create an iClicker account.
Use these onboarding resources to assist students, or share this guide with them.

Step 5
Start Using iClicker with Achieve
Download the iClicker Cloud software, log in to the software with your iClicker credentials, and start using it in your Achieve course.
For more detailed instructions on integrating an iClicker course with Achieve, peruse our knowledge base resource.
Support and Resources
We’re here to help! Choose from our flexible support and resource options below, or contact your specialist for additional support.
FAQs
Find commonly asked questions on how to get started. If you don’t see your question below, visit our iClicker Knowledge Base or contact your specialist.
Q: How do I integrate my iClicker course into my LMS?
Find all your iClicker LMS questions here.
Q: Can I use iClicker with Achieve?
A: Yes! iClicker is included with most Achieve courses at no additional cost and can easily be integrated with your Achieve course.
Q: How do I sync iClicker to my Achieve course?
A: View our step-by-step guide on how to integrate an iClicker Cloud course with Achieve.
Q: How do I manage my course settings?
A: After creating your instructor account, download the iClicker Cloud software, and create your first course, follow these instructions on managing your course settings.
Q: How do I invite students to my course?
A: The simplest way to invite students to your course is through Quick Join. Students can also manually search for and add your course in the iClicker student app.
Q: How do I share my iClicker Cloud course with a co-instructor or TA?
A: To share your course with a co-instructor or TA, follow these steps.
Students, Get Started with iClicker
Choose Your Set-Up Guide
To ensure proper setup, it is crucial to follow your instructor’s guidance on whether the course will use iClicker by itself or use iClicker with Achieve. Depending on this, select the appropriate option below to view the correct step-by-step guide.

Step 1
Get the Right Information From Your Instructor
Follow your instructor’s specific iClicker setup instructions to properly set up your iClicker for their course. For remote registration, consult your instructor directly since site registration is no longer available.
Step 2
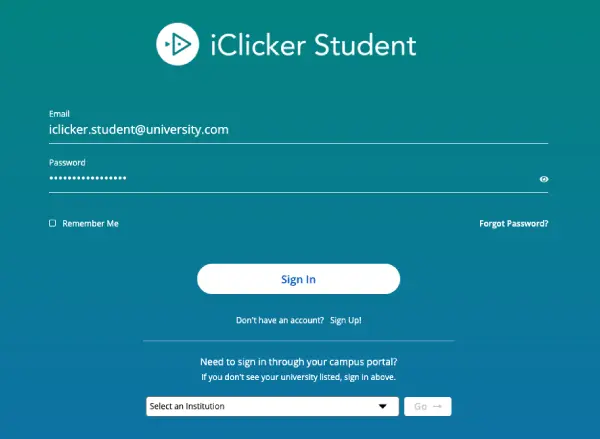
Create Your iClicker Student Account
Create your account on the iClicker site. If you already have an account, sign in here, do not create a duplicate account.
Step 3
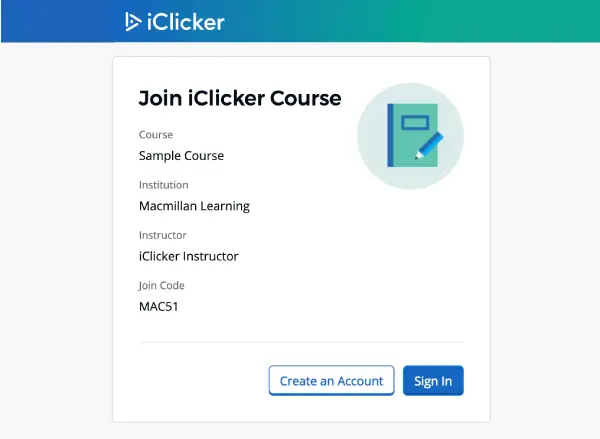
Register With Your Instructor’s Course
Follow your instructor’s instructions on how to register for their course.
You may be provided with a join code or a QR code.

Step 4
Access the iClicker Student App
Based on the information your instructor shares with you, you may need to purchase an iClicker student app subscription. Always confirm with your instructor before making a purchase.
Step 5
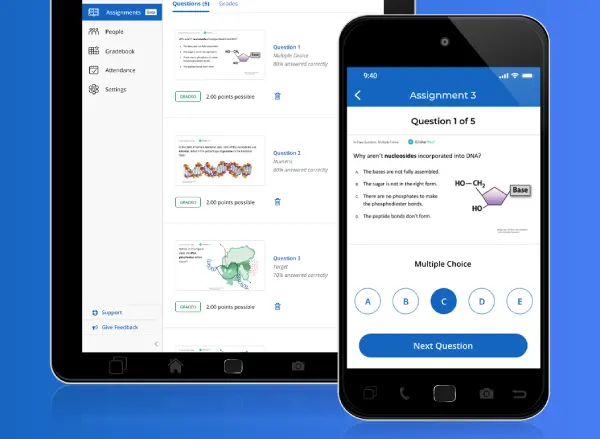
Download the iClicker Student Mobile App
Download the student mobile app via the App Store or Google Play, or by visiting the iClicker student web app.
Click here for more detailed instructions.

Step 1
Log in to Achieve
Log in to Achieve, select your instructor’s course, and click on the yellow banner at the top of the course page. You must click on the link in the yellow banner to connect your iClicker account.

Step 2
Connect Your iClicker Course
If you already have an iClicker account, sign in. If you do not already have an iClicker account, click “Sign up!” Once you’ve signed into iClicker through Achieve, your accounts are successfully linked.

Step 3
Enroll in your Instructor’s iClicker course
Follow your instructor’s instructions on how to register for their course. You may be provided with a join code or QR code.

Step 4
Start Using iClicker with Achieve
Download the student mobile app via the App Store or Google Play, or by visiting the iClicker student web app.
Click here for more detailed instructions.
Benefits of Using iClicker
iClicker is more than just in-class polling; it’s your partner in success! Did you know that…
📑💥
iClicker Has Study Tools!
You can review class materials, access polling questions, and flag questions to review later. Additionally, you can create flashcards or practice tests to prepare for class or exams. Dive deeper into the power of Study Tools here.
📈🎓
You Learn Better with iClicker!
It’s true! Research shows engaging in class and actively participating with iClicker improves your understanding of course material, promotes deeper learning, and helps you achieve better results in class.
🧠😶🌫️
iClicker Helps You Focus!
Sprinkling in iClicker polls and quizzes is a great way to break boredom and keep your focus in check!
🚀 FUN FACT: Mistakes help you learn. So even if you answer the question wrong, the more you participate during class, the better you retain knowledge.
FAQs
Find commonly asked questions on how to get started. If you don’t see your question below, visit our iClicker Knowledge Base or contact support.
Q: Do I need to purchase a student app subscription?
A: Always check with your instructor before making any purchases. Some schools and departments license the iClicker student app for their students to use or use it in conjunction with Achieve, so you may not need to purchase anything.
Q: My instructor says I need to purchase a student app subscription, how do I purchase it?
A: You can find the iClicker Student App subscription options here, make sure to follow your instructor’s instructions for which subscription length to choose.
Q: How do I use iClicker with my Achieve course?
A: To connect your iClicker student account with Achieve, follow these steps.
Q: How do I join my instructor’s course?
A: You can join your instructor’s course using a Join Code or add the course in your iClicker Student App.
Explore additional FAQs, support articles, tutorials, and more in the knowledge base. For more assistance, the customer and tech support team is available for all your needs.


